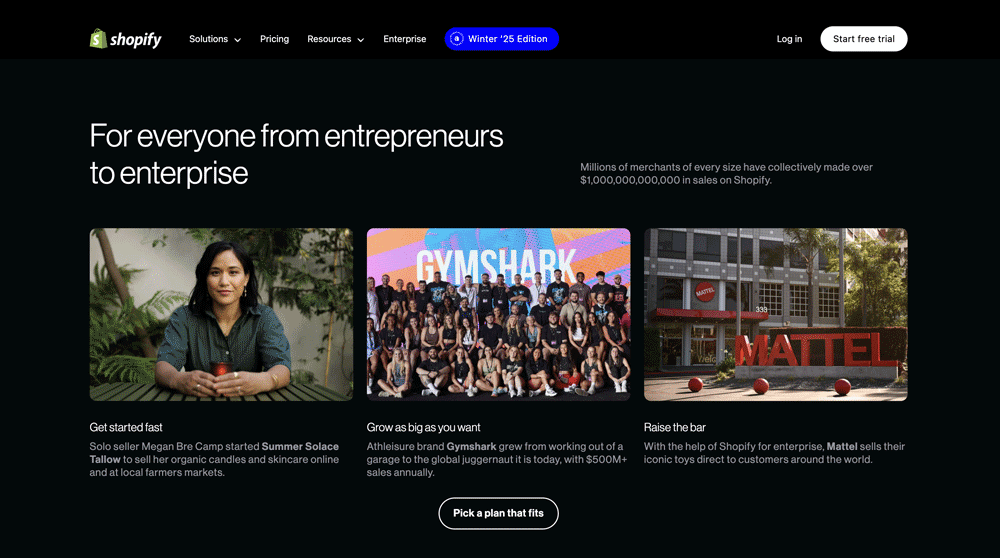
Setting up an online store is an exciting venture, especially in New Zealand, where the eCommerce market continues to grow rapidly. Whether you’re starting a small side hustle or launching a full-fledged business, Shopify is one of the best platforms to bring your ideas to life. This guide will walk you through every step to successfully launch your Shopify store, tailored specifically for the Kiwi audience. Let’s dive in!
Step 1: Define Your Business Goals
Before getting into the technical setup, take the time to define your business objectives. Are you planning to sell products locally within New Zealand or cater to an international market? Understanding your audience will help you make crucial decisions later, such as shipping (which can be expensive when sending offshore), payment gateways, and marketing strategies.
Research your niche, identify your target customers, and evaluate competitors in your industry. Tools like Stats NZ can provide valuable insights into market trends and consumer behaviour in New Zealand. And of course Google, there is no better place to start – search how your future customers would.
Step 2: Sign Up for Shopify (or find yourself a shopify partner)
Getting started with Shopify is straightforward. Visit the Shopify website and sign up for a free trial, you can try Shopify free for 3 days – no credit card required. Try Shopify free for 3 days, no credit card required. After your trial expires, choose a pricing plan that suits the size and stage of your business.
During the sign-up process, you’ll need to provide basic information about your business, such as the name of your store. Choose a name that’s unique, memorable, and resonates with your target audience. Make sure the name isn’t already registered by checking the NZ Companies Office.
*If you want to engage with a professional, (preferably a Shopify partner) to help build your new store keep in mind that these companies and professionals have unlimited trial periods – which means you don’t need to start paying until you store is finished and live!
Step 3: Select a Shopify Plan
Shopify offers a range of plans to suit businesses of all sizes. If you’re just starting out, the Basic Shopify plan is often sufficient. As your business grows, you can upgrade to access more advanced features like professional reporting and lower transaction fees. Check out this page to show you all the different Shopify plans available.
Keep in mind that Shopify charges you in USD, so factor in exchange rates when budgeting. You’ll also need to register for GST if your annual revenue exceeds NZD $60,000. Consult with a local accountant for tax advice tailored to New Zealand businesses.
To learn about how Shopify fees and charges work – check out this resource.
Step 4: Choose a Theme
Your store’s design is the first thing customers notice. Shopify offers free and premium themes that are mobile-friendly and customisable. For a New Zealand audience, look for themes that highlight natural imagery or minimalistic designs, aligning with the Kiwi aesthetic.
Once you’ve chosen a theme, you can customise it by going to the ‘Online Store’ section in your Shopify dashboard. Add your logo, adjust the colour scheme, and upload high-quality product images to make your store visually appealing.
It’s a good idea to think about some Brand Guidelines at this point – check out this resource on some basic things to consider.
Step 5: Add Your Products
Now it’s time to showcase what you’re selling. Go to the ‘Products’ section and click ‘Add Product.’ For each product, include the following details (at a minimum):
- Product title: Be clear and descriptive.
- Product description: Highlight key features and benefits. Make this unique, don’t copy other websites selling the same thing.
- Include the Product Vendor: This is the brand name.
- Pricing: Make sure you change the settings in Shopify to include or exclude GST in your pricing. If you would like to show both (ex. GST prices and incl. GST prices you can use an APP or edit your code). If you would like to utilise Shopify reports than enter cost prices also – this way you can track your margins. Nb. ‘Compare at Price’ is the original price if you were to put your product son sale.
- Product images: Use high-resolution images to build trust, ideally you should use you own images, show a range of angles and uses. Remember to add ALT text and to keep your image size small.
- Inventory details: Track stock levels to avoid overselling.
Remember to include local language and terms familiar to New Zealand customers. For example, mention ‘Free delivery across Aotearoa’ instead of ‘Free shipping nationwide’.
Step 6: Set Up Payments
Shopify supports multiple payment gateways, making it easy to accept payments in New Zealand. The most popular options include:
- Shopify Payments: A seamless solution that accepts Visa, Mastercard, and more. GST is automatically applied. I would recommend using Shopify Payments – ensure you enter your business details correctly – and these match what is entered on the companies register. At some point you may be asked to authenticate yourself and your business. Shopify payments is now so widely used customers have become familiar with them, increasing trust and conversion rates.
- PayPal: Widely used by customers worldwide.
- POLi: Popular for Kiwi customers preferring direct bank transfers.
Ensure your chosen payment methods are user-friendly and trustworthy to boost customer confidence.
Step 7: Configure Shipping Options
Shipping can make or break an eCommerce business. Shopify allows you to set up customised shipping rates. Here’s how to optimise your shipping settings for New Zealand:
- Flat rates: Offer a consistent fee for standard shipping across New Zealand.
- Free shipping: Encourage larger orders by providing free shipping over a certain amount.
- Local pickup: If you have a physical location, allow customers to pick up their orders for free.
- Local drop-off: Offer same day drop-off to an area which is feasible for you.
Use reliable local couriers like NZ Post or Aramex. Additionally, provide tracking options to keep customers informed. Consider setting up an account with GoSweetSpot or similar, which gives you access to cheaper courier rates from a wide range of carriers (cheaper than what you can get off-the-shelf) . You can also speed up handling times by integrating Shopify with GoSweetSpot.
Step 8: Optimise for SEO
Search engine optimisation (SEO) is crucial for driving organic traffic to your store. Here are some key tips for optimising your Shopify store for New Zealand audiences:
- Keyword research: Use tools like Google Keyword Planner (accessed via Google Ads) to find phrases Kiwis are searching for.
- Meta titles and descriptions: Write compelling meta tags that include relevant keywords.
- Alt text for images: Add descriptive alt tags to improve image search rankings.
- Local content: Mention locations like Auckland, Wellington, and Christchurch, Queenstown to capture local traffic.
Additionally, ensure your site loads quickly and is mobile-friendly, as these factors impact your Google rankings – see more information on Google Core Web Vitals here.
Step 9: Set Up Legal Pages
To build trust and comply with regulations, include essential legal policy pages such as:
- Privacy Policy: Explain how you handle customer data.
- Terms of Service: Outline your store policies.
- Refund Policy: Clearly state your return and refund conditions.
- Shipping Policy: Provide details about delivery times and fees.
Shopify offers pre-made templates for these pages, which you can customise to suit your business. It’s important to note that if you would like to show your products on Google Shopping you will need these policy links displayed (in a footer) from your homepage to be approved for a Google Merchant account (now known as Google for Retail) – which will feed your products into paid ads on Google Ads or Free local listings.
Step 10: Launch and Promote Your Store
Once you’ve set up your store, it’s time to go live. Double-check all your settings, test your checkout process, and ensure your site works perfectly on both desktop and mobile devices.
After launching, focus on driving traffic to your store. Here are some strategies tailored for New Zealand:
- Social media marketing: Use platforms like Facebook and Instagram to connect with local customers.
- Google Ads: Target specific regions in New Zealand to maximise your ad spend.
- Email marketing: Build a subscriber list and send regular updates about promotions, I recommend Klaviyo and Mailchimp.
- Collaborations: Partner with Kiwi influencers or local brands to expand your reach.
Don’t forget to monitor your store’s performance using Shopify’s analytics dashboard. Keep experimenting with new strategies to improve your sales and customer experience. I would also encourage you to set-up your Digital Foundations (Google Analytics, Google Ads, Google Search Console, Facebook Business Manager – get in touch if you need an expert to do this.


